A common problem users experience in Windows 1 is not being able to hear ay audio or sound. There are several reasons this can happen. But, happily, fixing this simple. This tutorial shows you five different ways of doing this. At least one of these methods will likely fix your problem.
Watch video on fixing sound problems
1 - Unmute Your Device
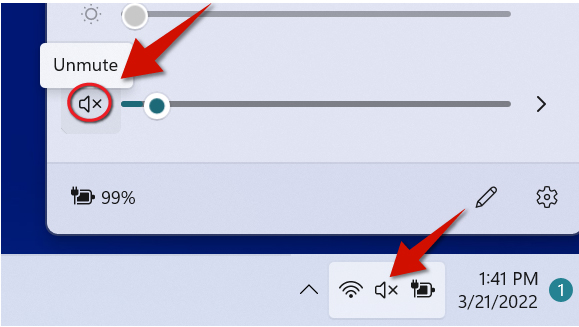
Go to the bottom right-corner and take a look at the speaker icon. If you noticed that it has the letter x next to it, that means your sound device is muted. If your sound is muted, click that icon to bring up the controls. Next, click the speaker icon again next to the volume slider to unmute your device.
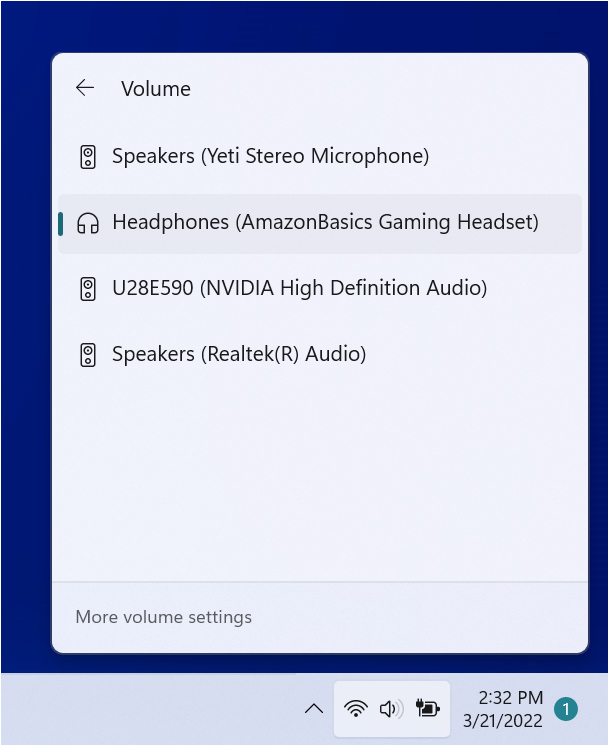
2 - Use the Right Playback/Output Device
3 - Make Sure your Devices are Connected
You may not be able to hear any sound if your devices are not connected. Whether your sound device uses a 3.5 millimeter audio cable or USB cord, please sure it is properly connected to appropriate ports of your computer.
4 - Use the Audio Troubleshooter
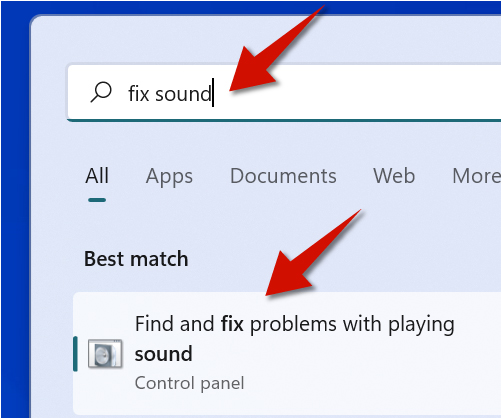
Windows 11 has a tool that lets you automatically detect what is causing the sound to not work. To open it, click the Search button from the bottom of the screen and type Fix sound. You will then see an option to open the audio troubleshooter. Open it and follow the steps.
5 - Update Audio Drivers
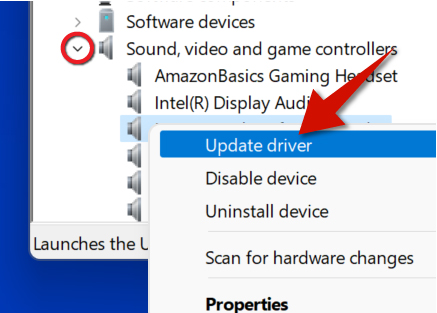
Updating outdated or malfunctioning audio drivers via the Device Manager may also fix sound problems on Windows 11. To do this, right click the Start button and select Device Manager. Go to where it says Sound, video and game controllers. Next, right-click your audio device and select Update driver.


